Deep Clean Your Bathroom: Step-by-Step Guide for a Sparkling Finish
Creating a sparkling clean bathroom is essential for maintaining a hygienic and healthy environment. It's not just about making the space look tidy; it's about eliminating germs and bacteria to promote well-being. While regular cleaning helps keep the bathroom presentable, occasional deep cleaning is necessary to tackle hidden grime and build-up accumulating over time. This thorough cleaning guide will provide step-by-step instructions for deep cleaning your bathroom, ensuring that every nook and cranny is thoroughly sanitized and refreshed.
Getting Started: Prepare Your Cleaning Arsenal
Before diving into the cleaning process, gather all necessary supplies. Everything on hand will streamline the cleaning process, making it efficient and less time-consuming. Essential supplies include:
- Rubber gloves
- Disinfectants and bathroom cleaners
- Glass cleaner
- Baking soda and vinegar (for eco-friendly options)
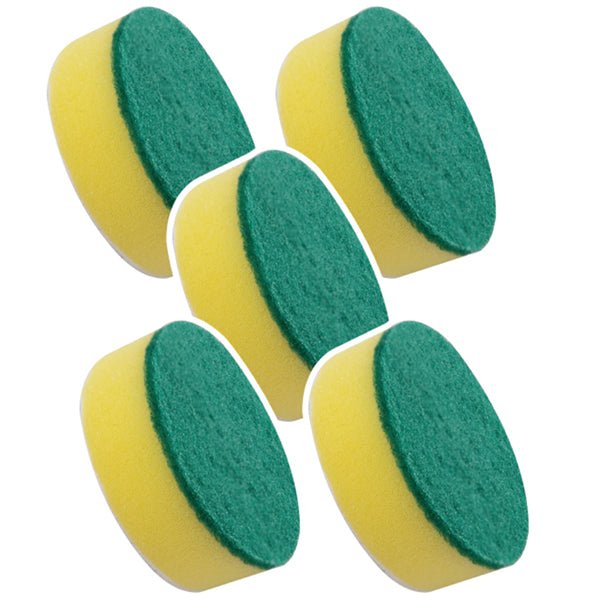
- Scrub brushes and sponges
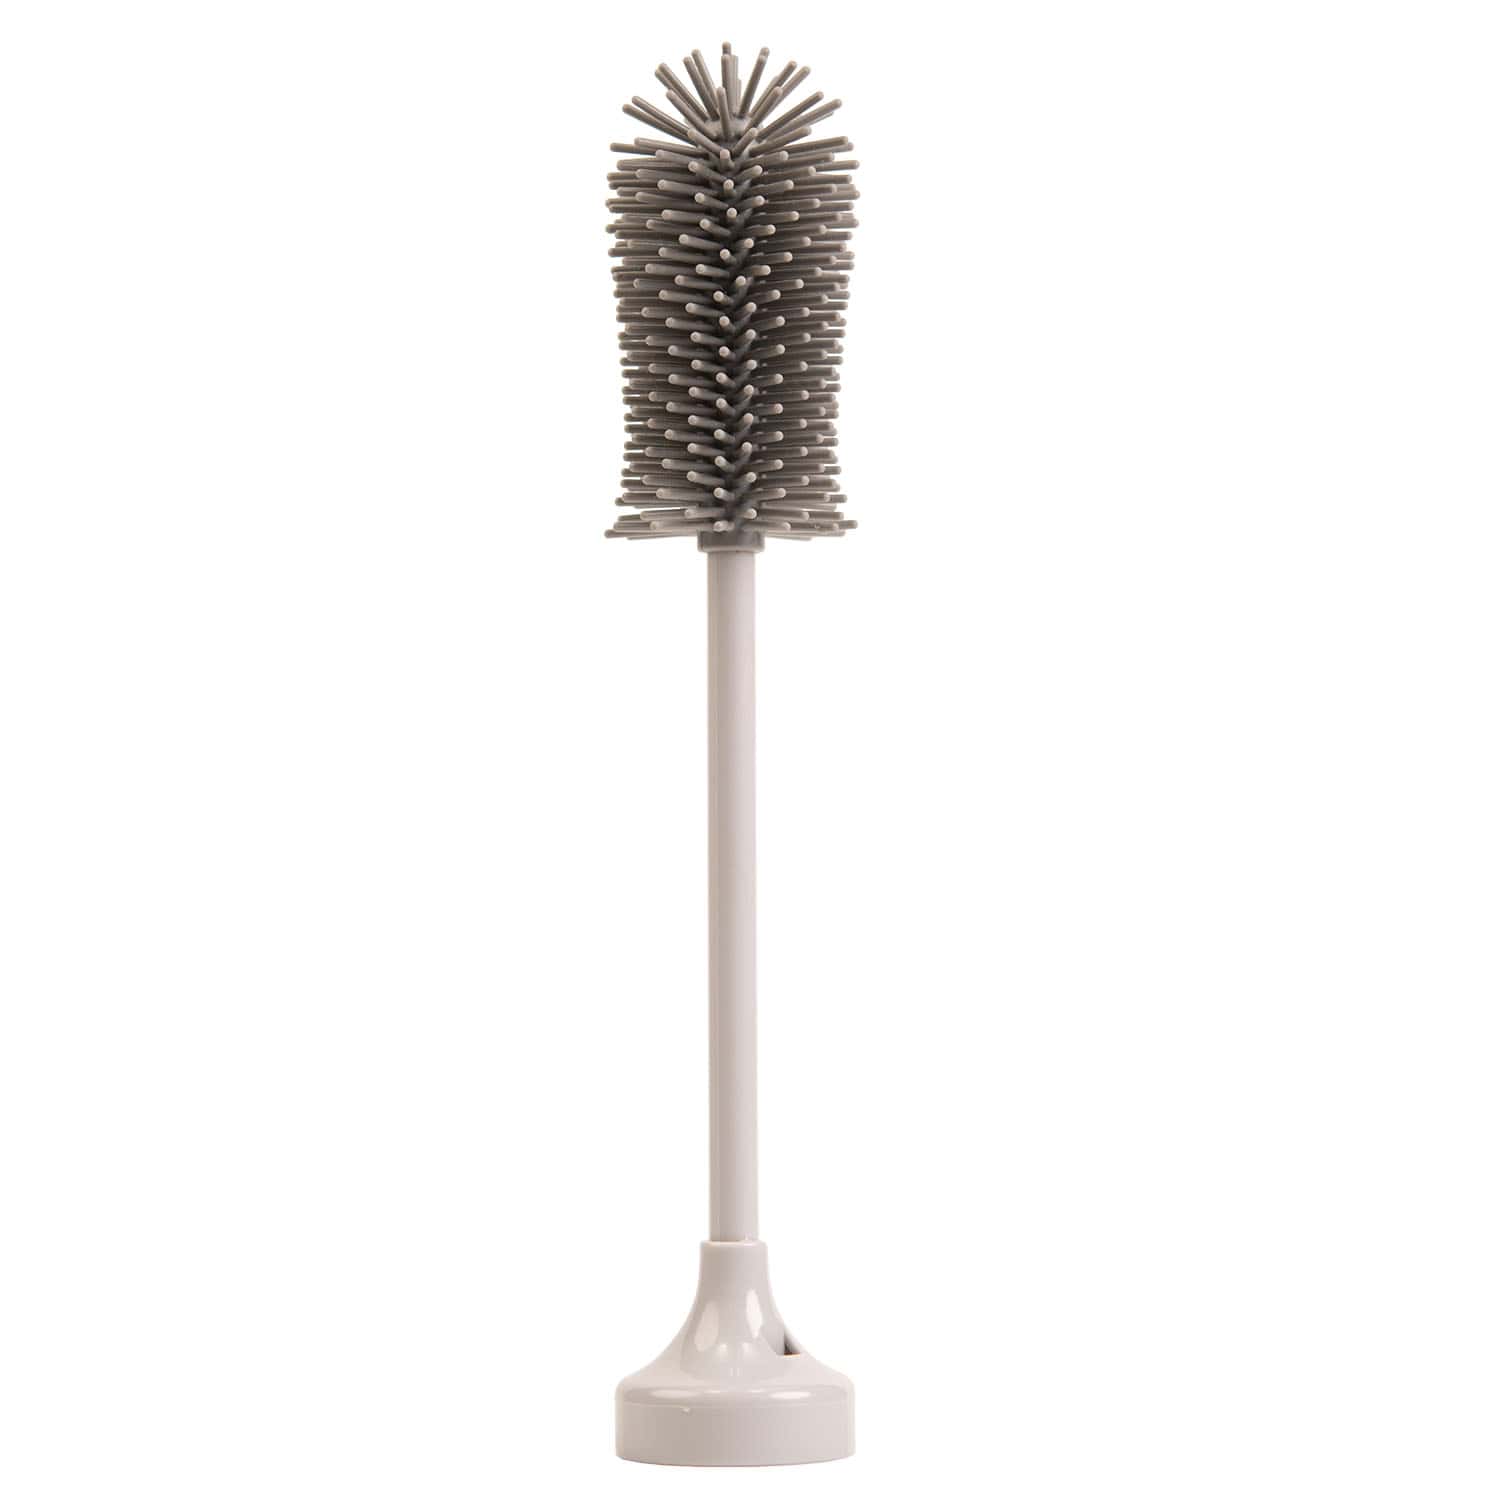
- Toilet brush
- Microfiber cloths
- A duster and a broom
- A mop
- A plastic bag (for trash)
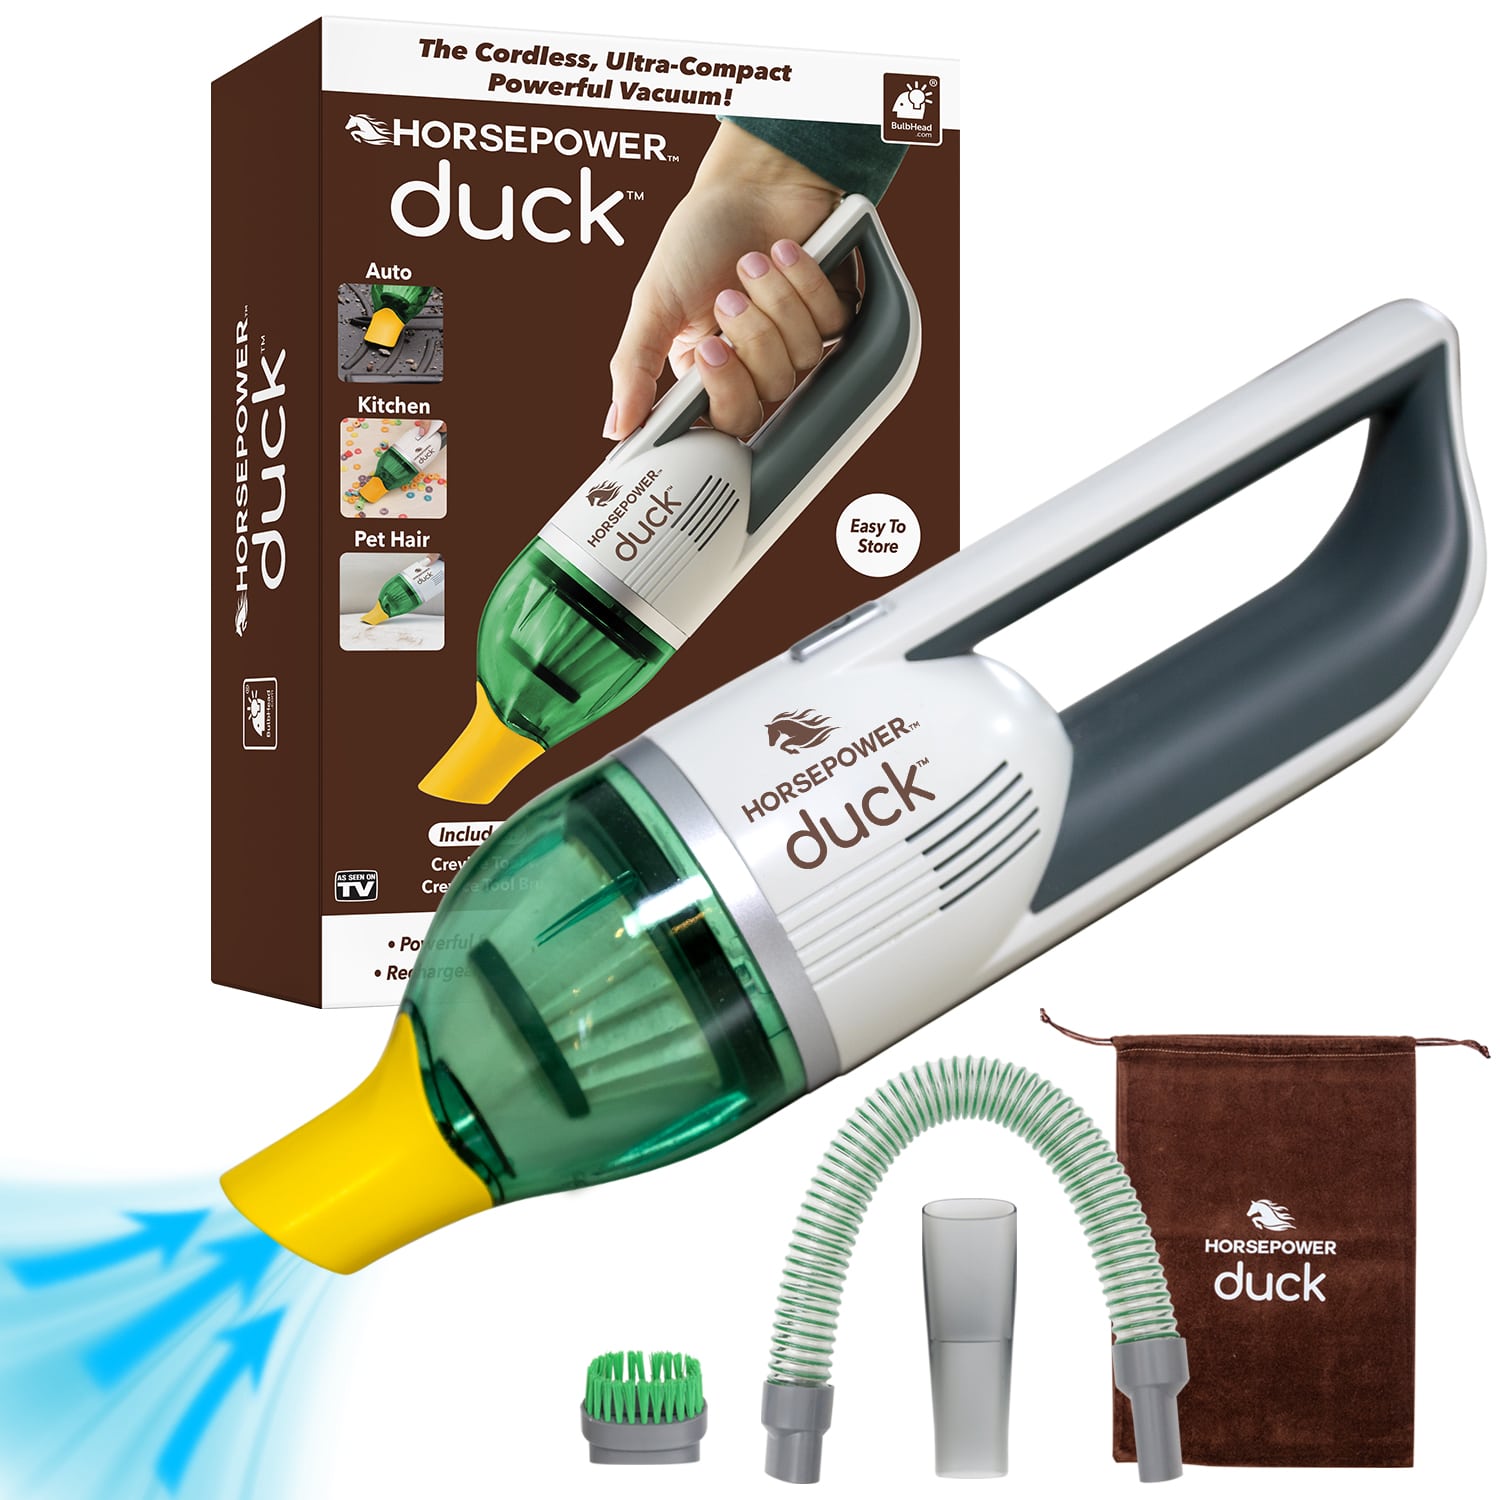
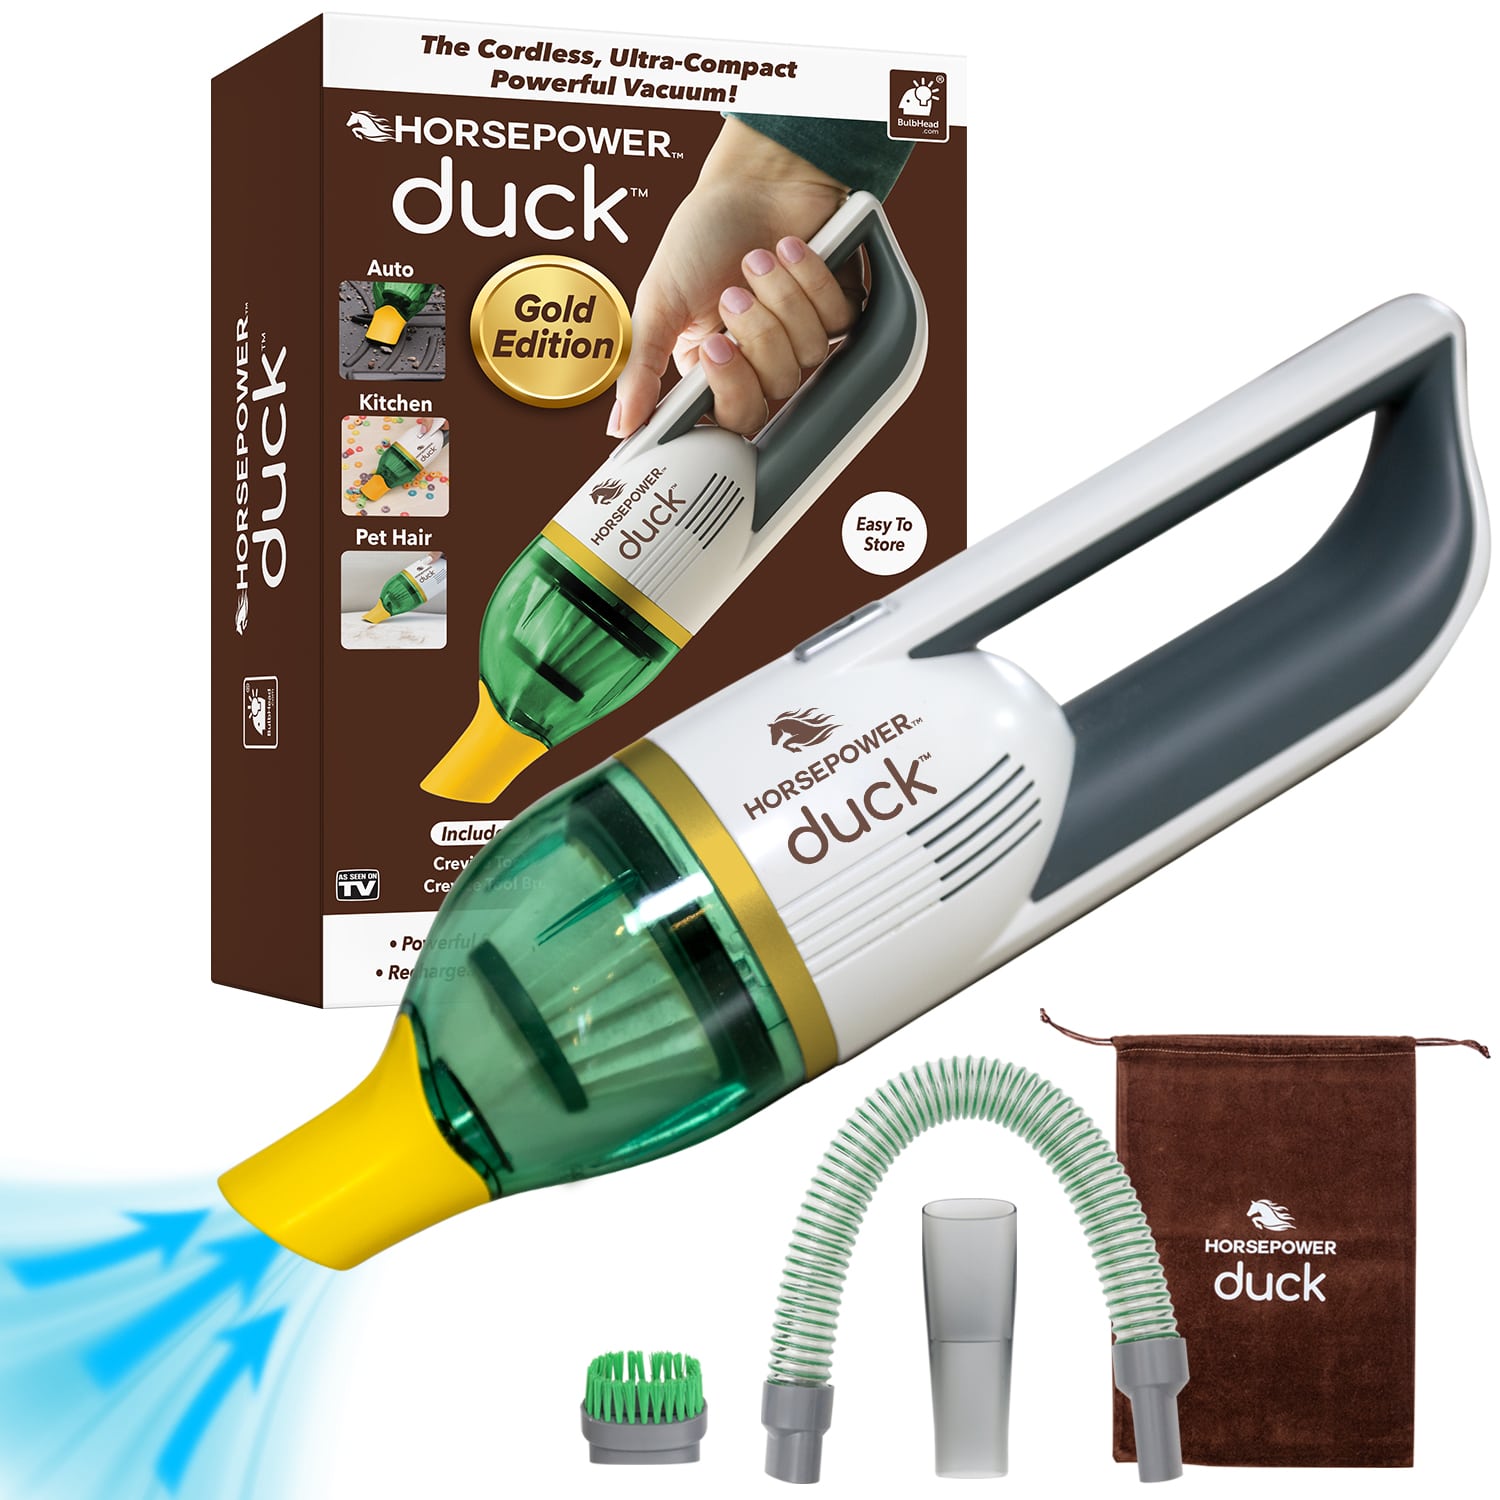
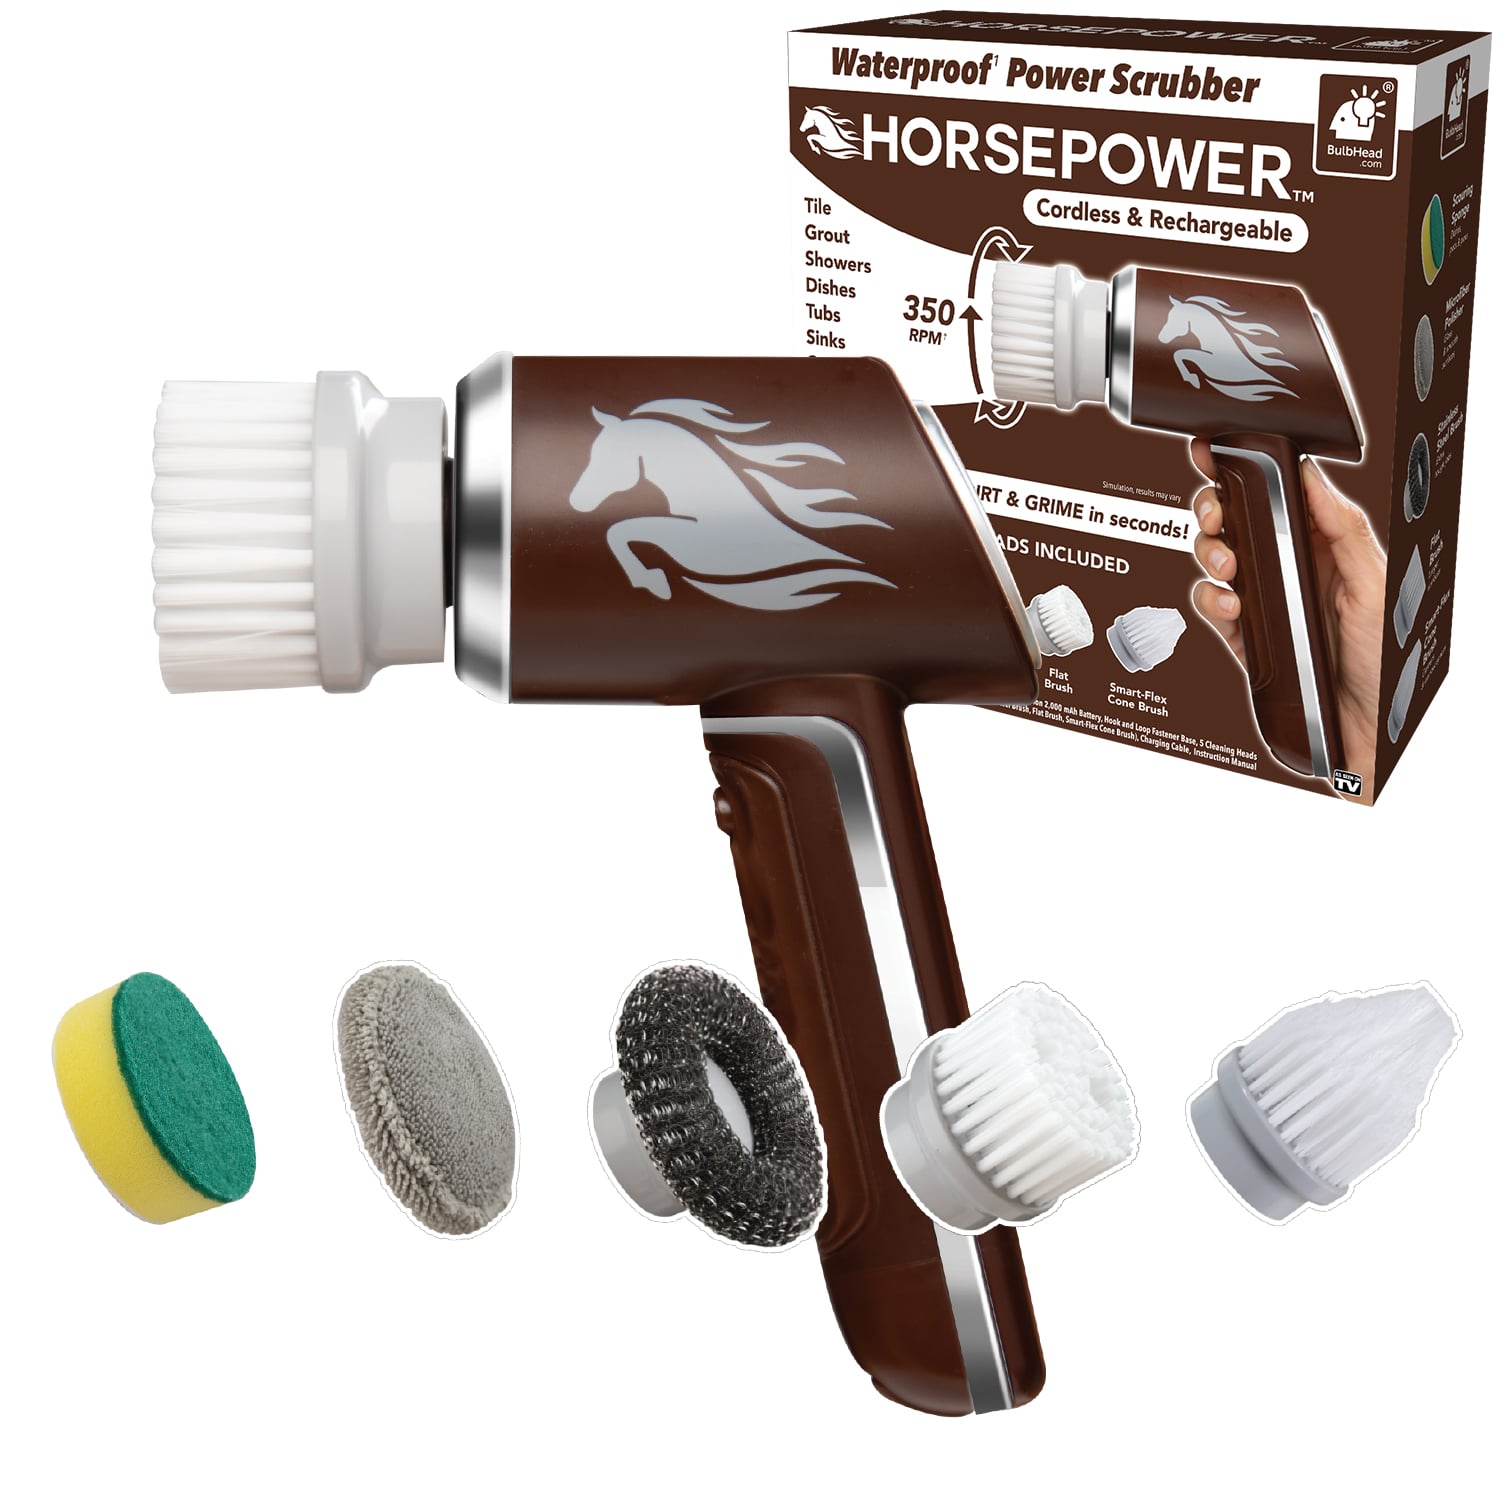
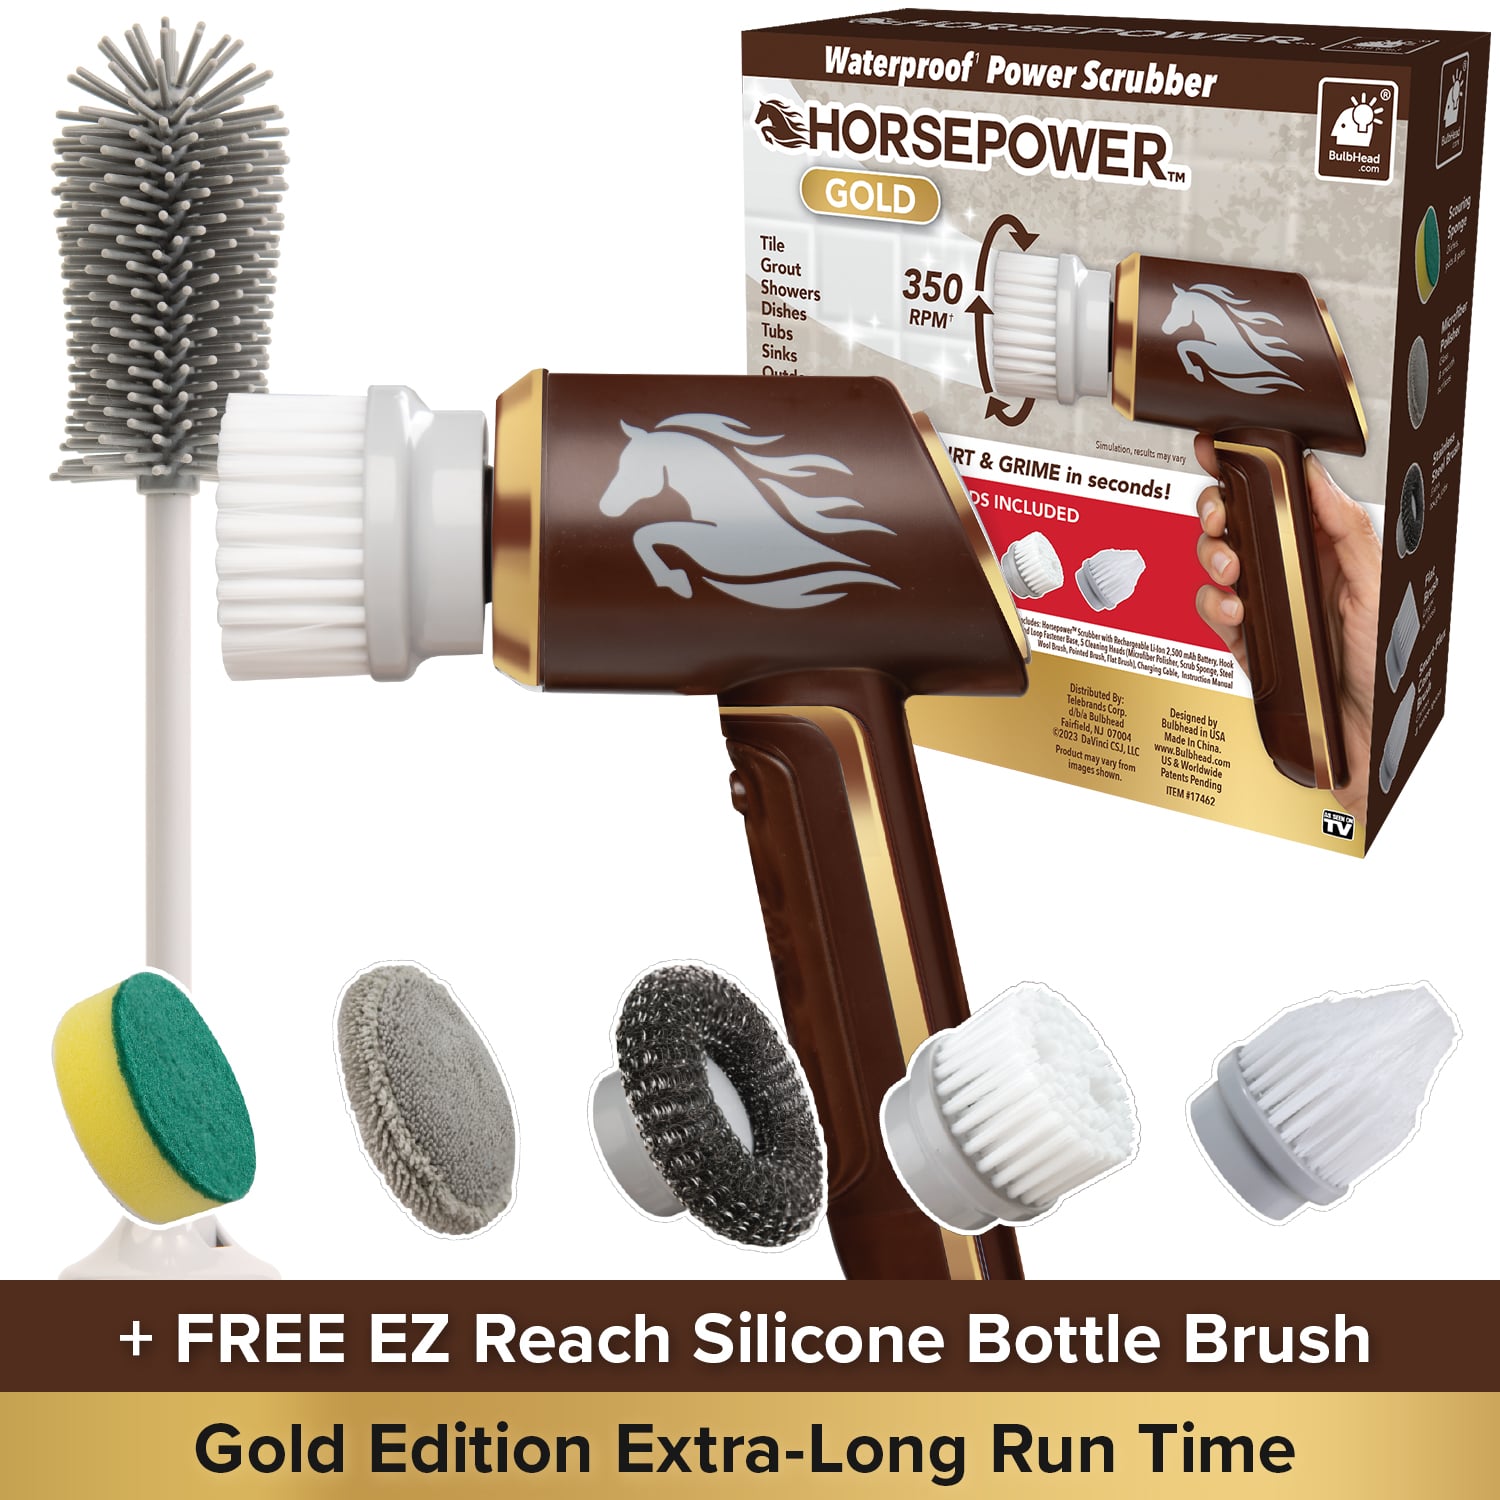
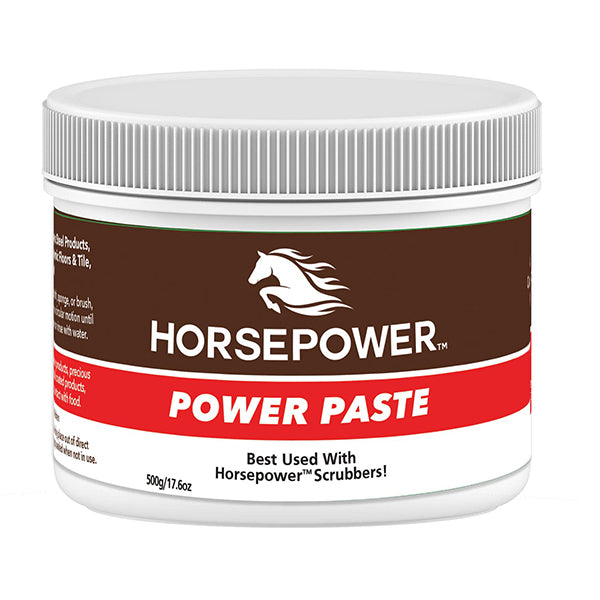
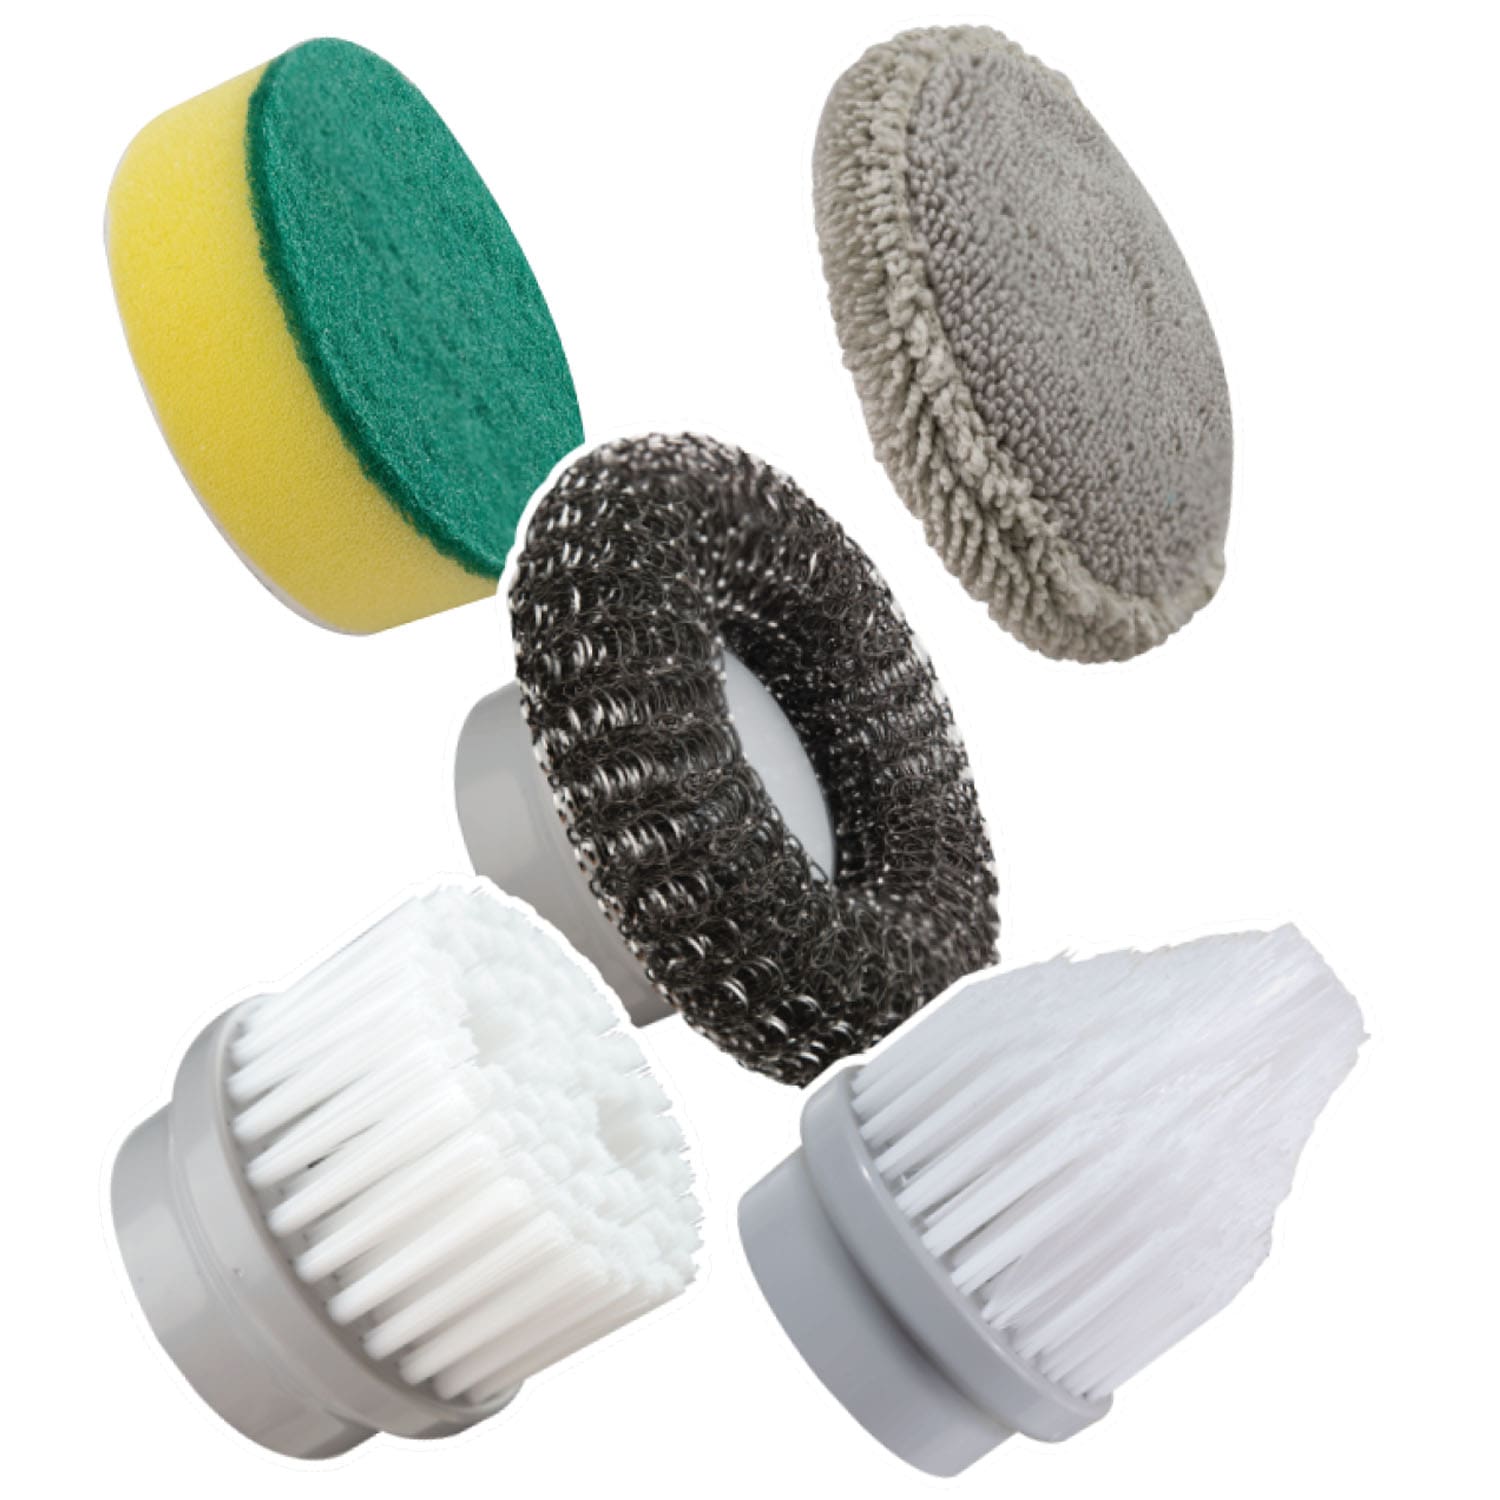
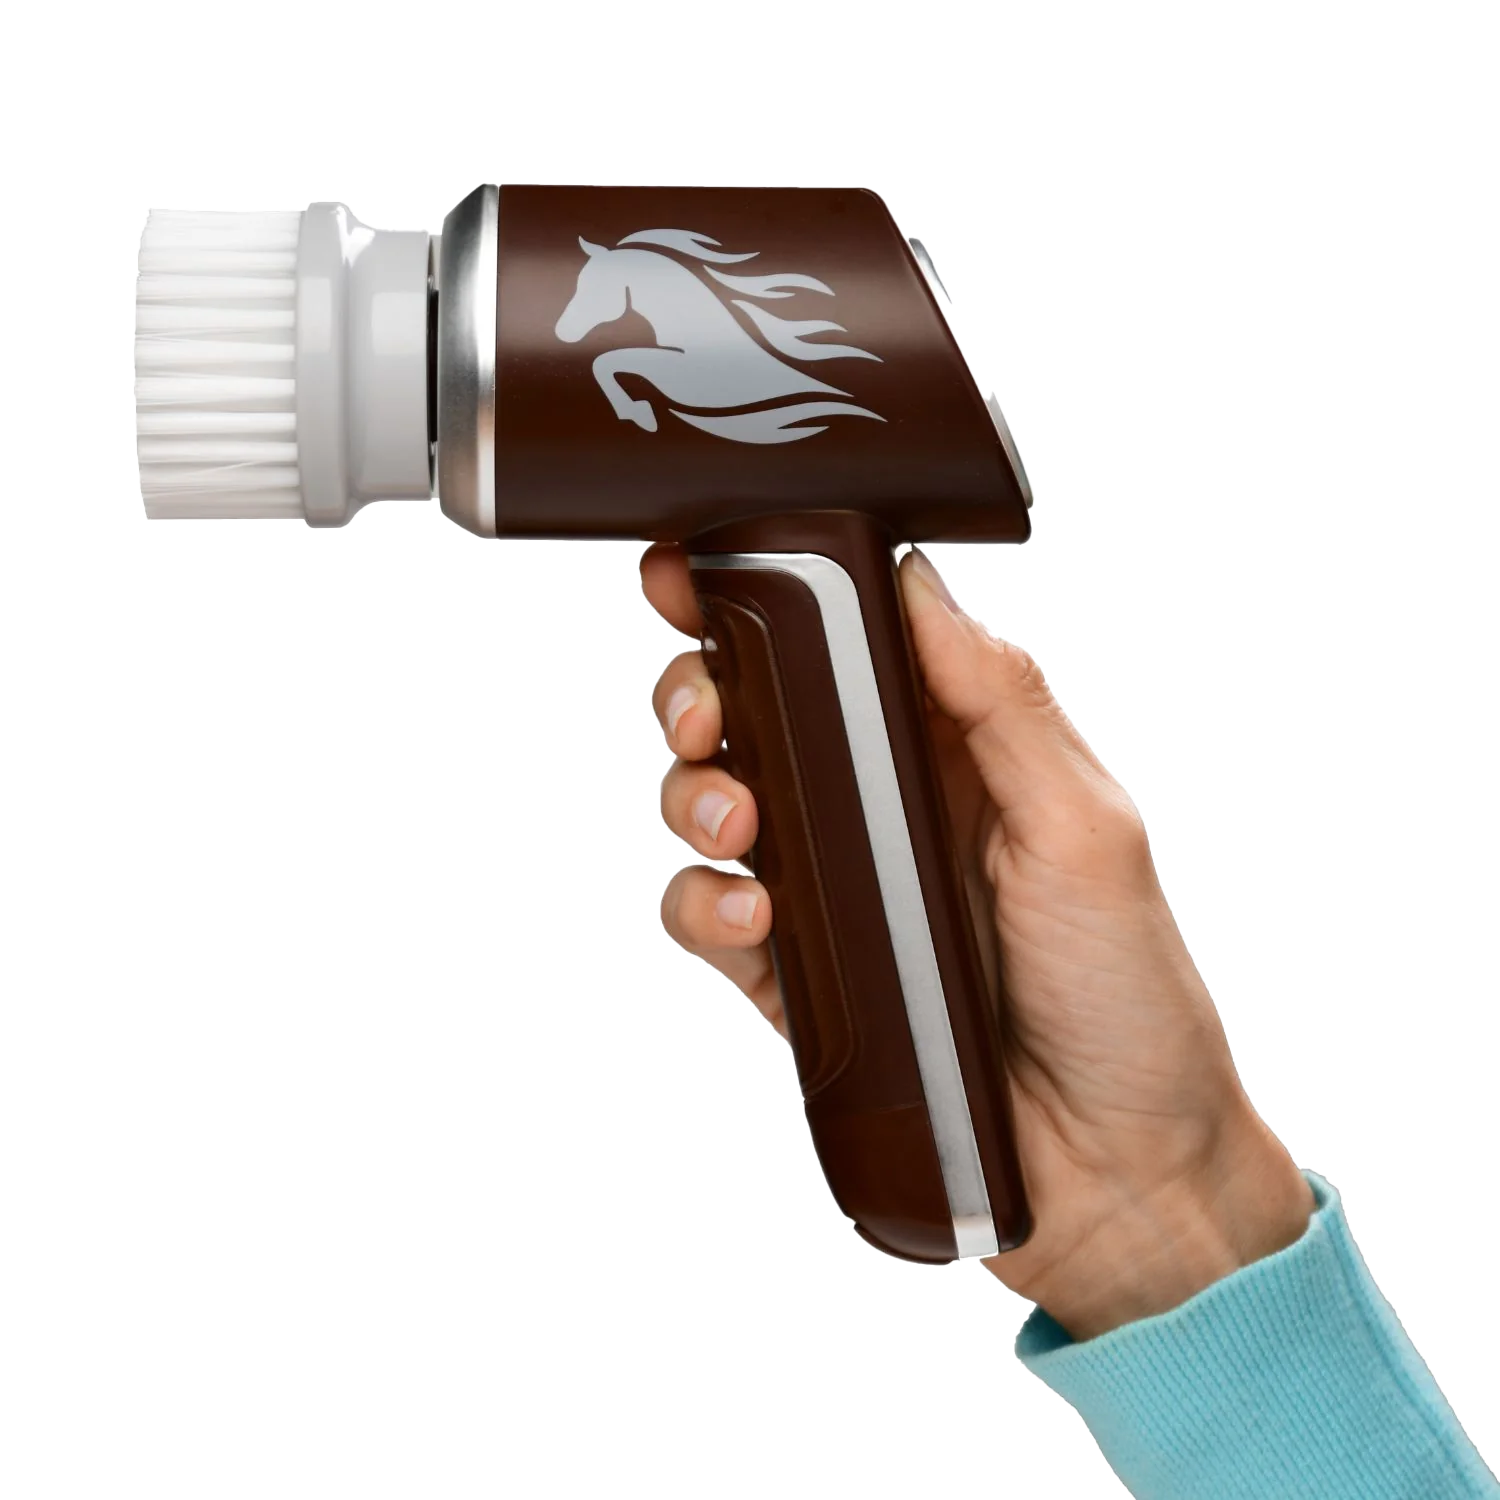
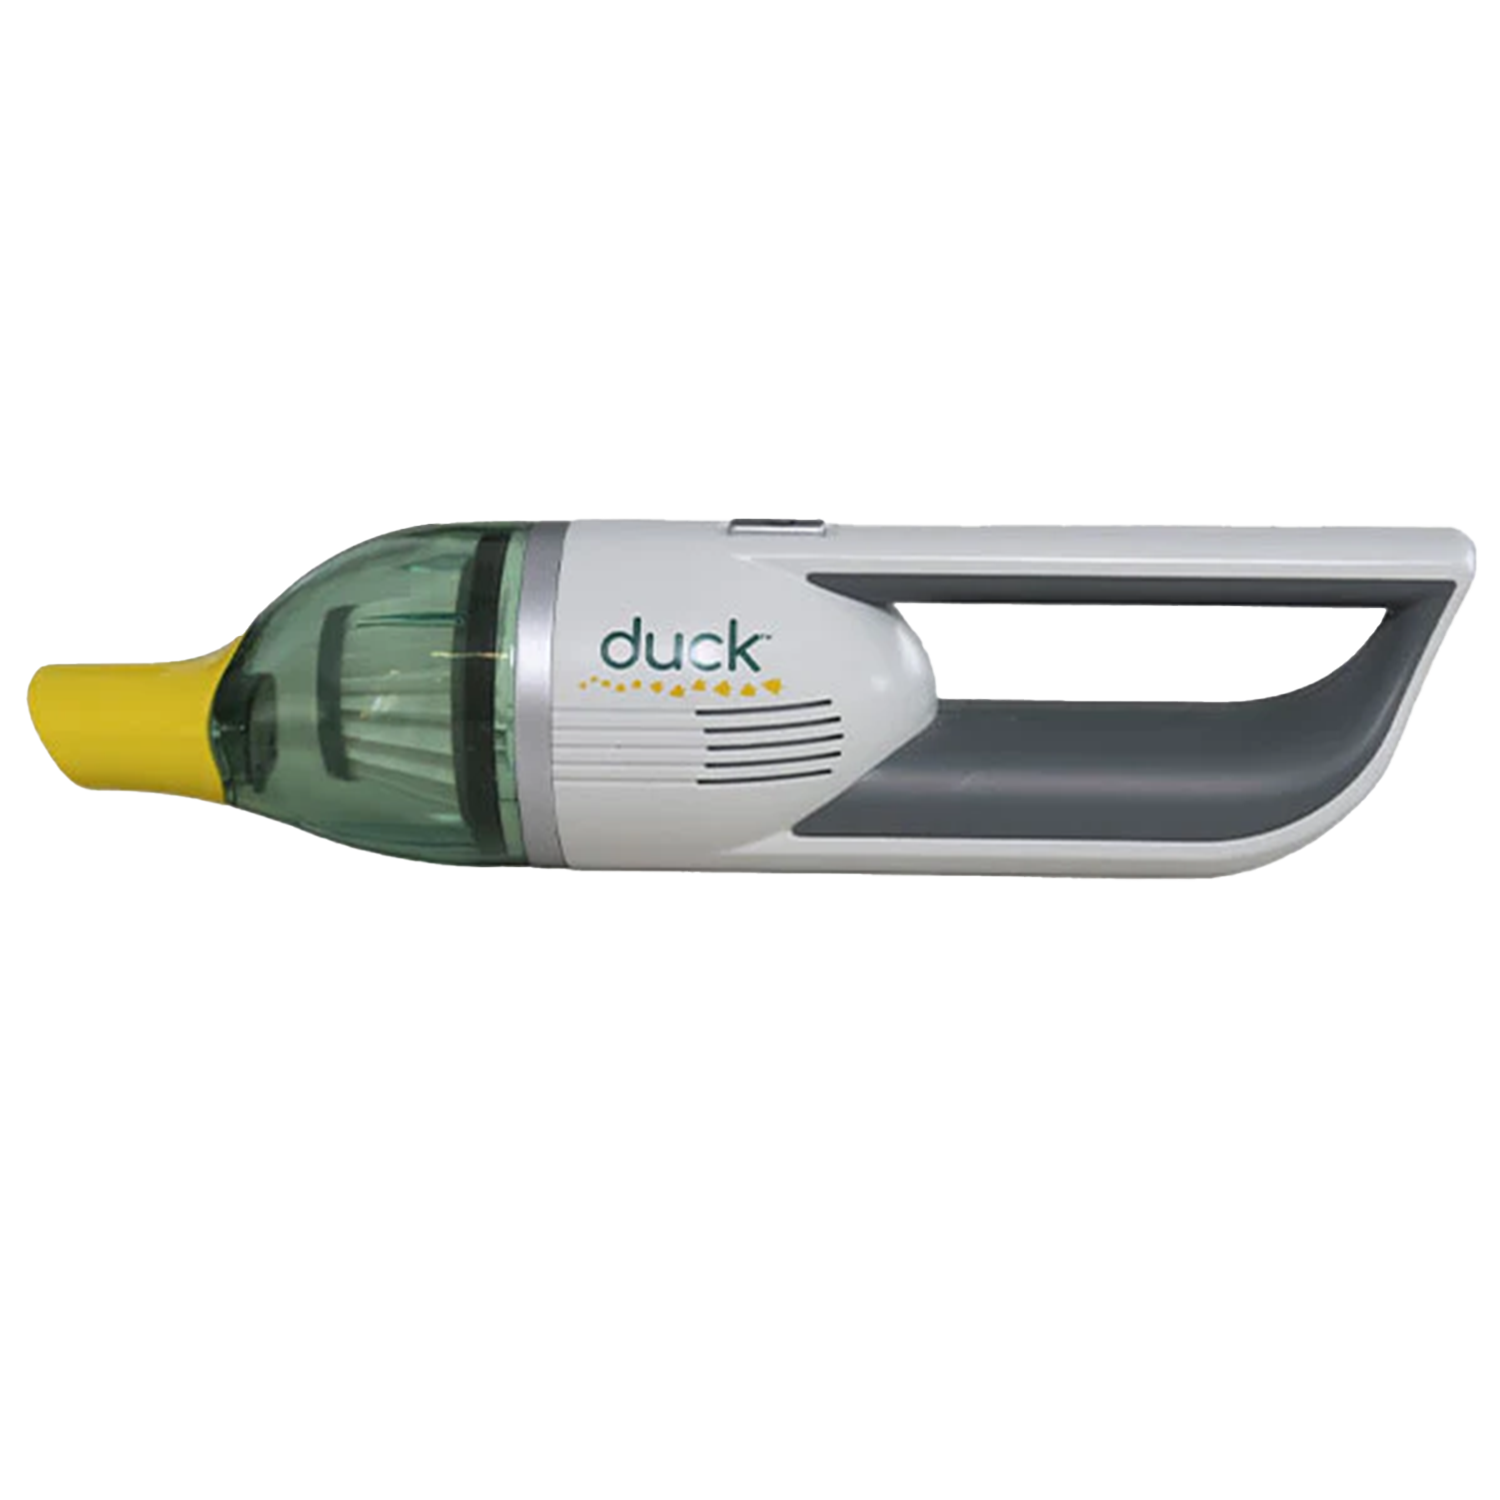
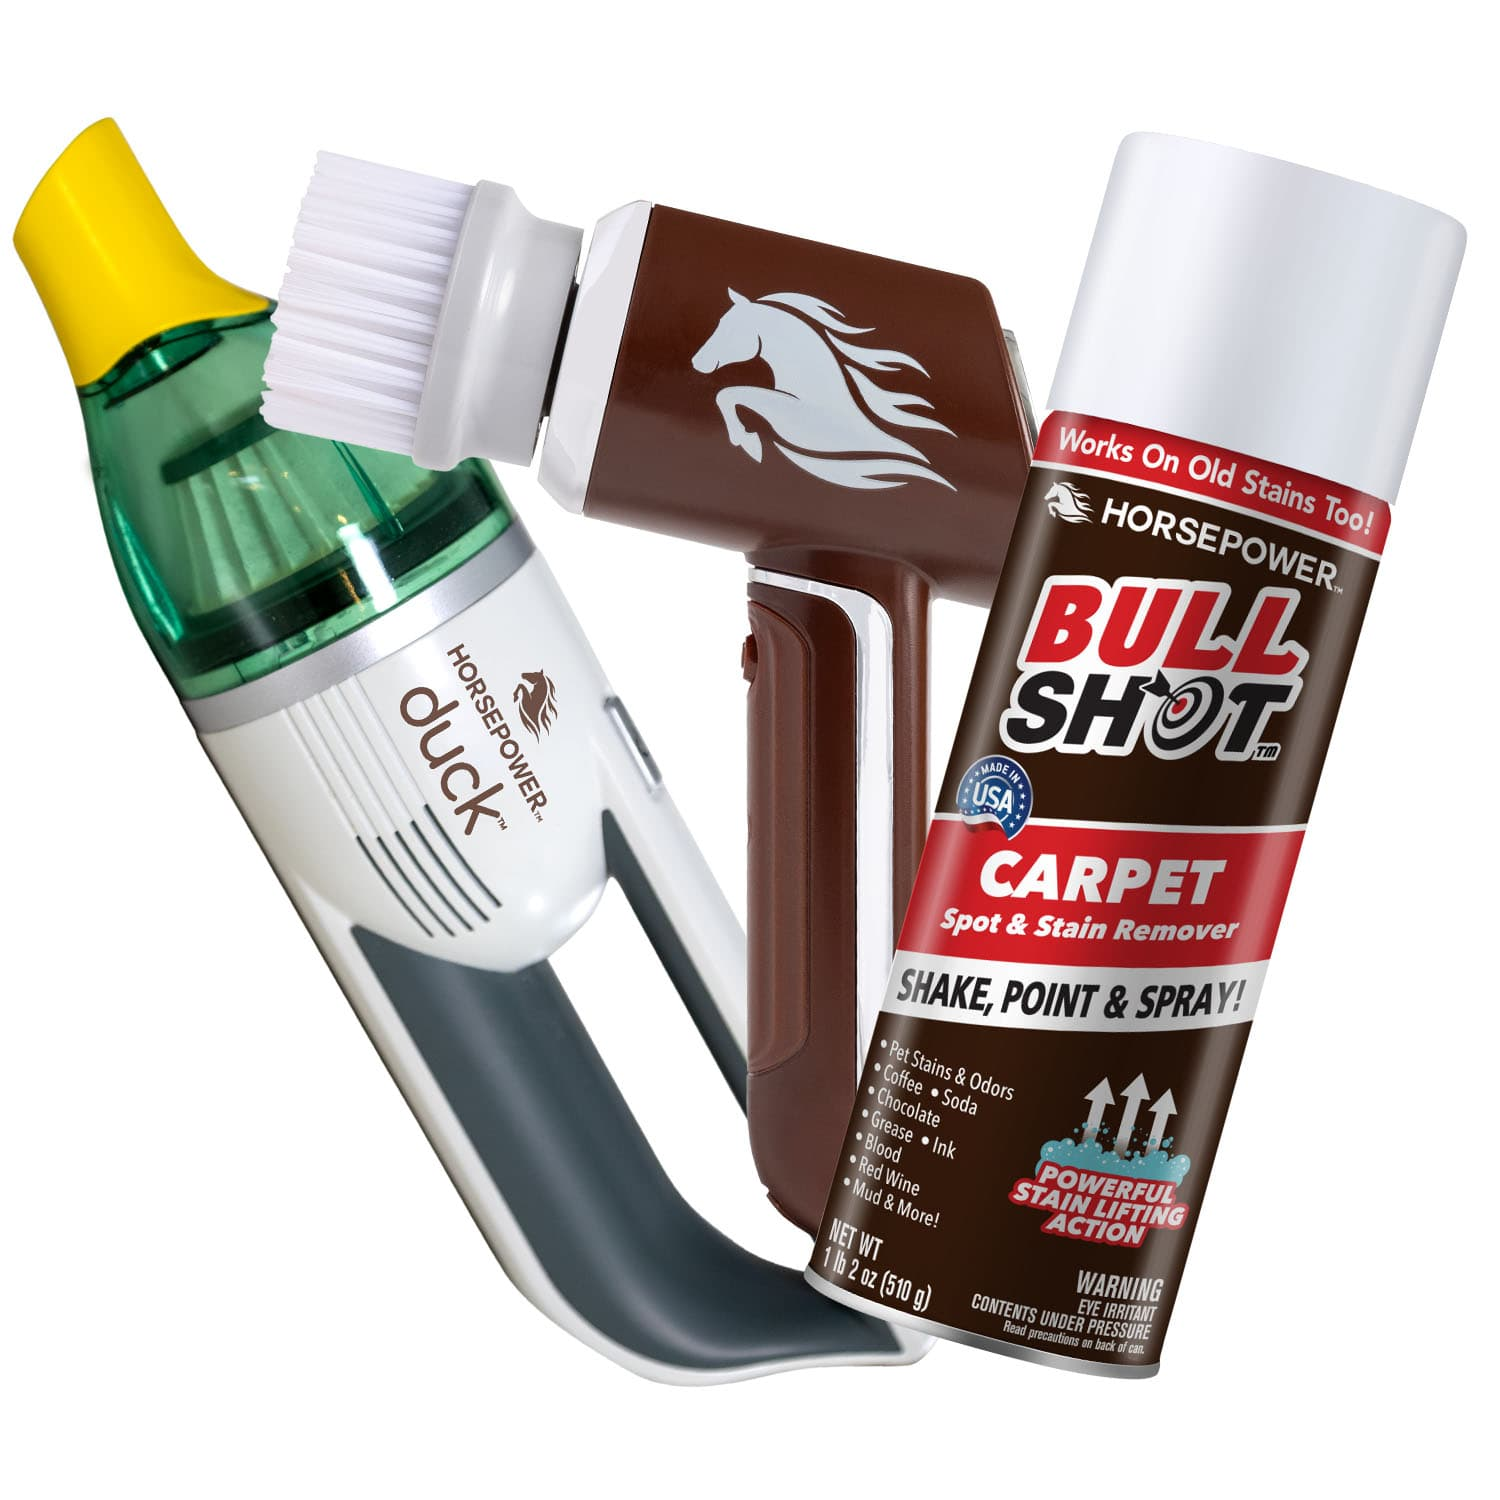
- We strongly recommend using Horsepower Scrubber and Duck Vacuum
Step 1: Declutter and Organize
To begin the deep cleaning process, start by decluttering your bathroom. Take out all the products, towels, and movable objects from the bathroom, including items on countertops, in shower stalls, and around the toilet area. As you review these items, carefully sort and discard empty bottles or expired products. After decluttering, wipe down all the products you plan to put back later to ensure they are clean before returning them to their places.
Step 2: Dusting and Sweeping
To effectively clean your space, it's important to pay attention to areas where dust tends to accumulate. Start by using a duster with an extendable handle to carefully dust all the high surfaces, including light fixtures, vent covers, and high shelves. Be thorough and pay special attention to corners and behind the toilet, as these are common areas where dust and spider webs can gather. Additionally, don't forget to sweep the floor to remove any hair and other debris. This will make the floor cleaning process easier and more efficient later on. Alternatively, you can suck up debris, dust, spiderwebs, and hair with the Duck Vacuum using the brush nozzle and bendable tube if needed.
Step 3: Shower and Bathtub
To thoroughly clean your shower and bathtub, start by applying a generous amount of bathroom cleaner or a mixture of baking soda and vinegar to the surfaces. Allow the cleaner to sit for at least 10-15 minutes to break down soap scum and hard water stains. Use Horsepower Scrubber to thoroughly clean the walls, faucet, and showerhead, particularly in areas with visible buildup.
Pay attention to the shower track and glass doors, if applicable. Use a glass cleaner designed explicitly for shower surfaces to ensure a sparkling finish. After cleaning, rinse the entire area thoroughly with water to remove any remaining cleaner and residue.
Step 4: Grout and Tile Cleaning
Grout can be difficult to clean because it attracts and holds mold and mildew. To tackle this, you can make a paste by mixing baking soda and water, then spread it over the grout and allow it to set for 15 minutes. After that, scrub the grout using a grout brush or an old toothbrush, and then rinse it thoroughly. As for the tiles, you can achieve a shiny finish by using a solution of vinegar and water.
Step 5: Toilet Deep Clean

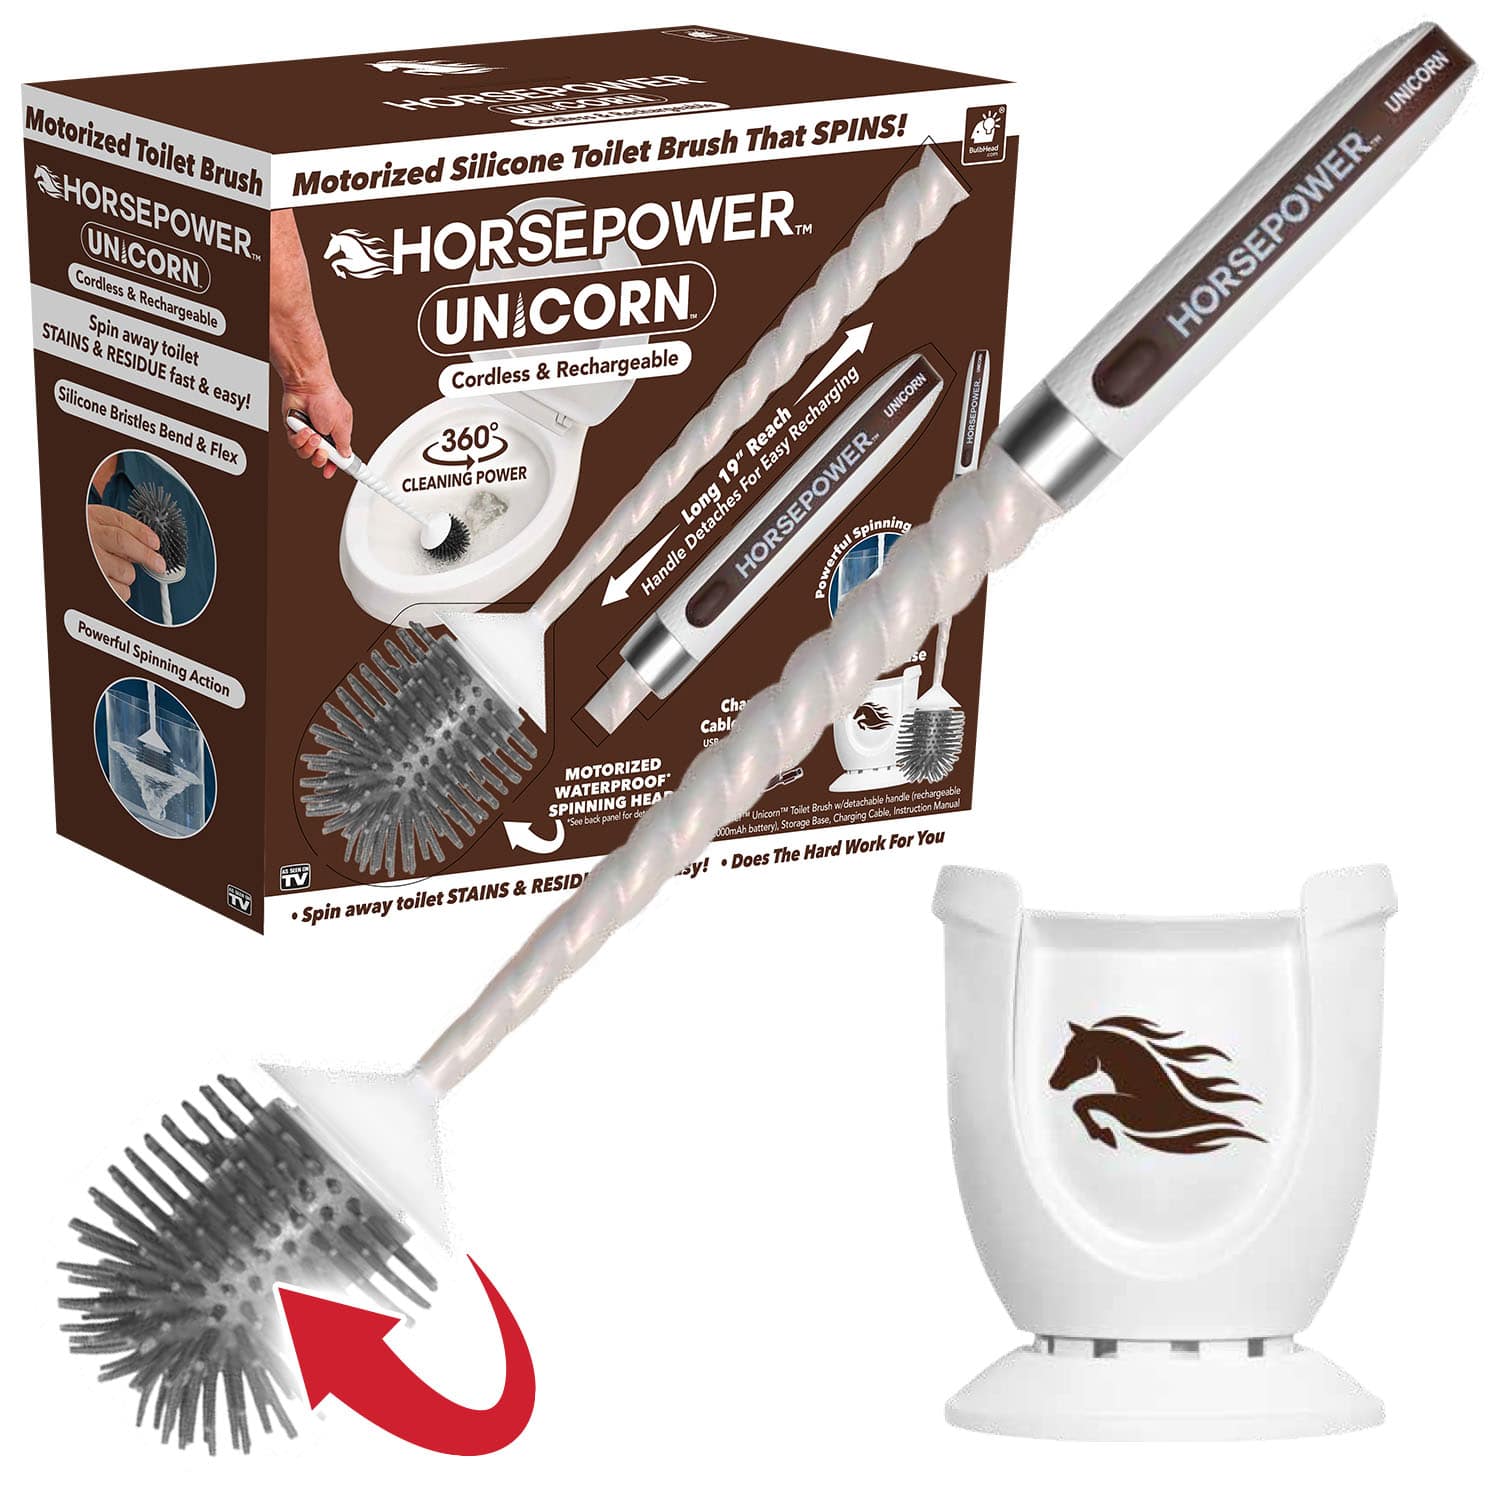
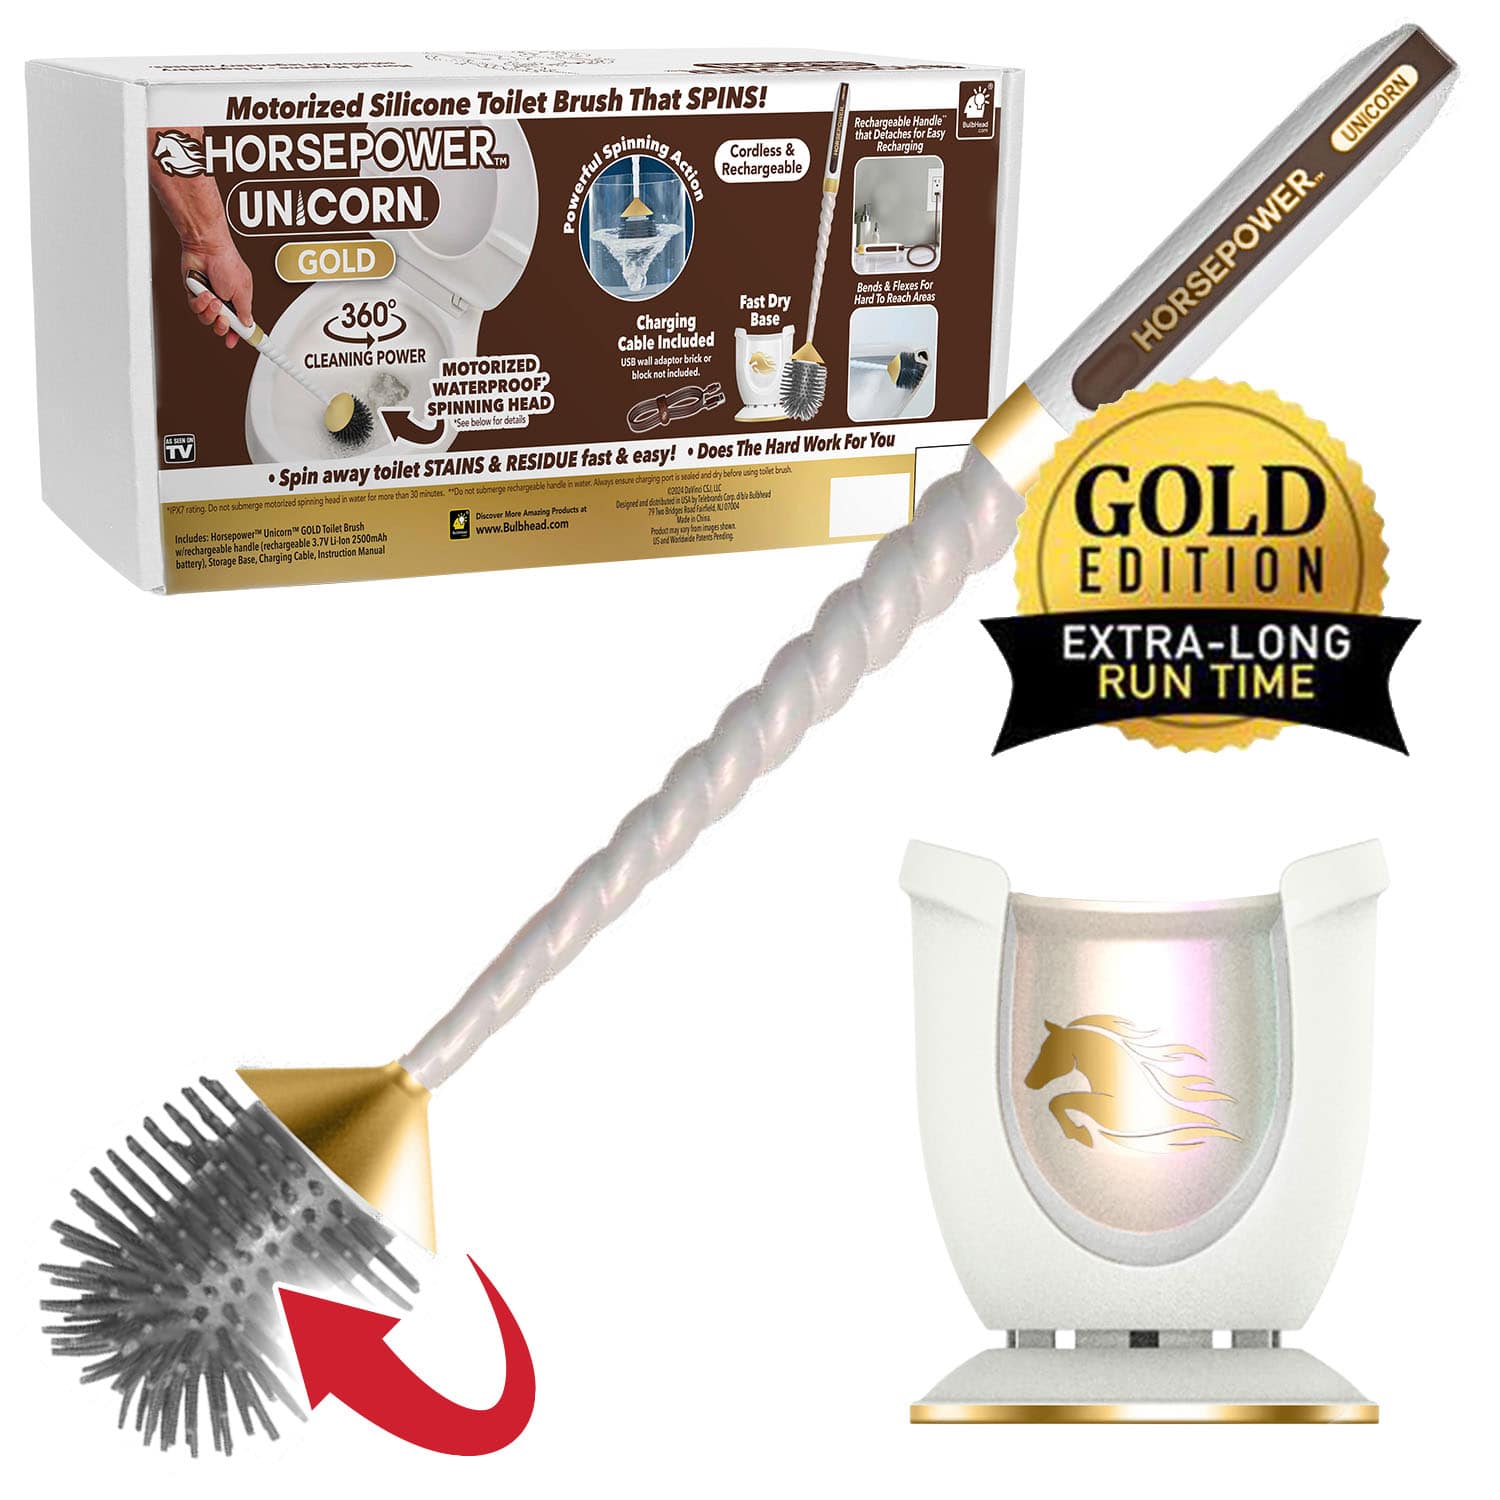
To thoroughly clean the toilet, apply toilet cleaner inside the bowl and allow it to sit for a few minutes to effectively break down any stains and germs. While the cleaner is working, take a disinfectant and clean the entire exterior and base of the toilet, paying particular attention to hard-to-reach areas behind and around the toilet. Next, use a toilet brush to scrub the entire bowl, including under the rim, to ensure all surfaces are thoroughly cleaned. After scrubbing, flush the toilet to rinse away the cleaner and any loosened debris. For any stubborn stains, you can gently use a pumice stone to carefully remove them, being cautious not to scratch the porcelain surface.
Step 6: Sink and Countertops
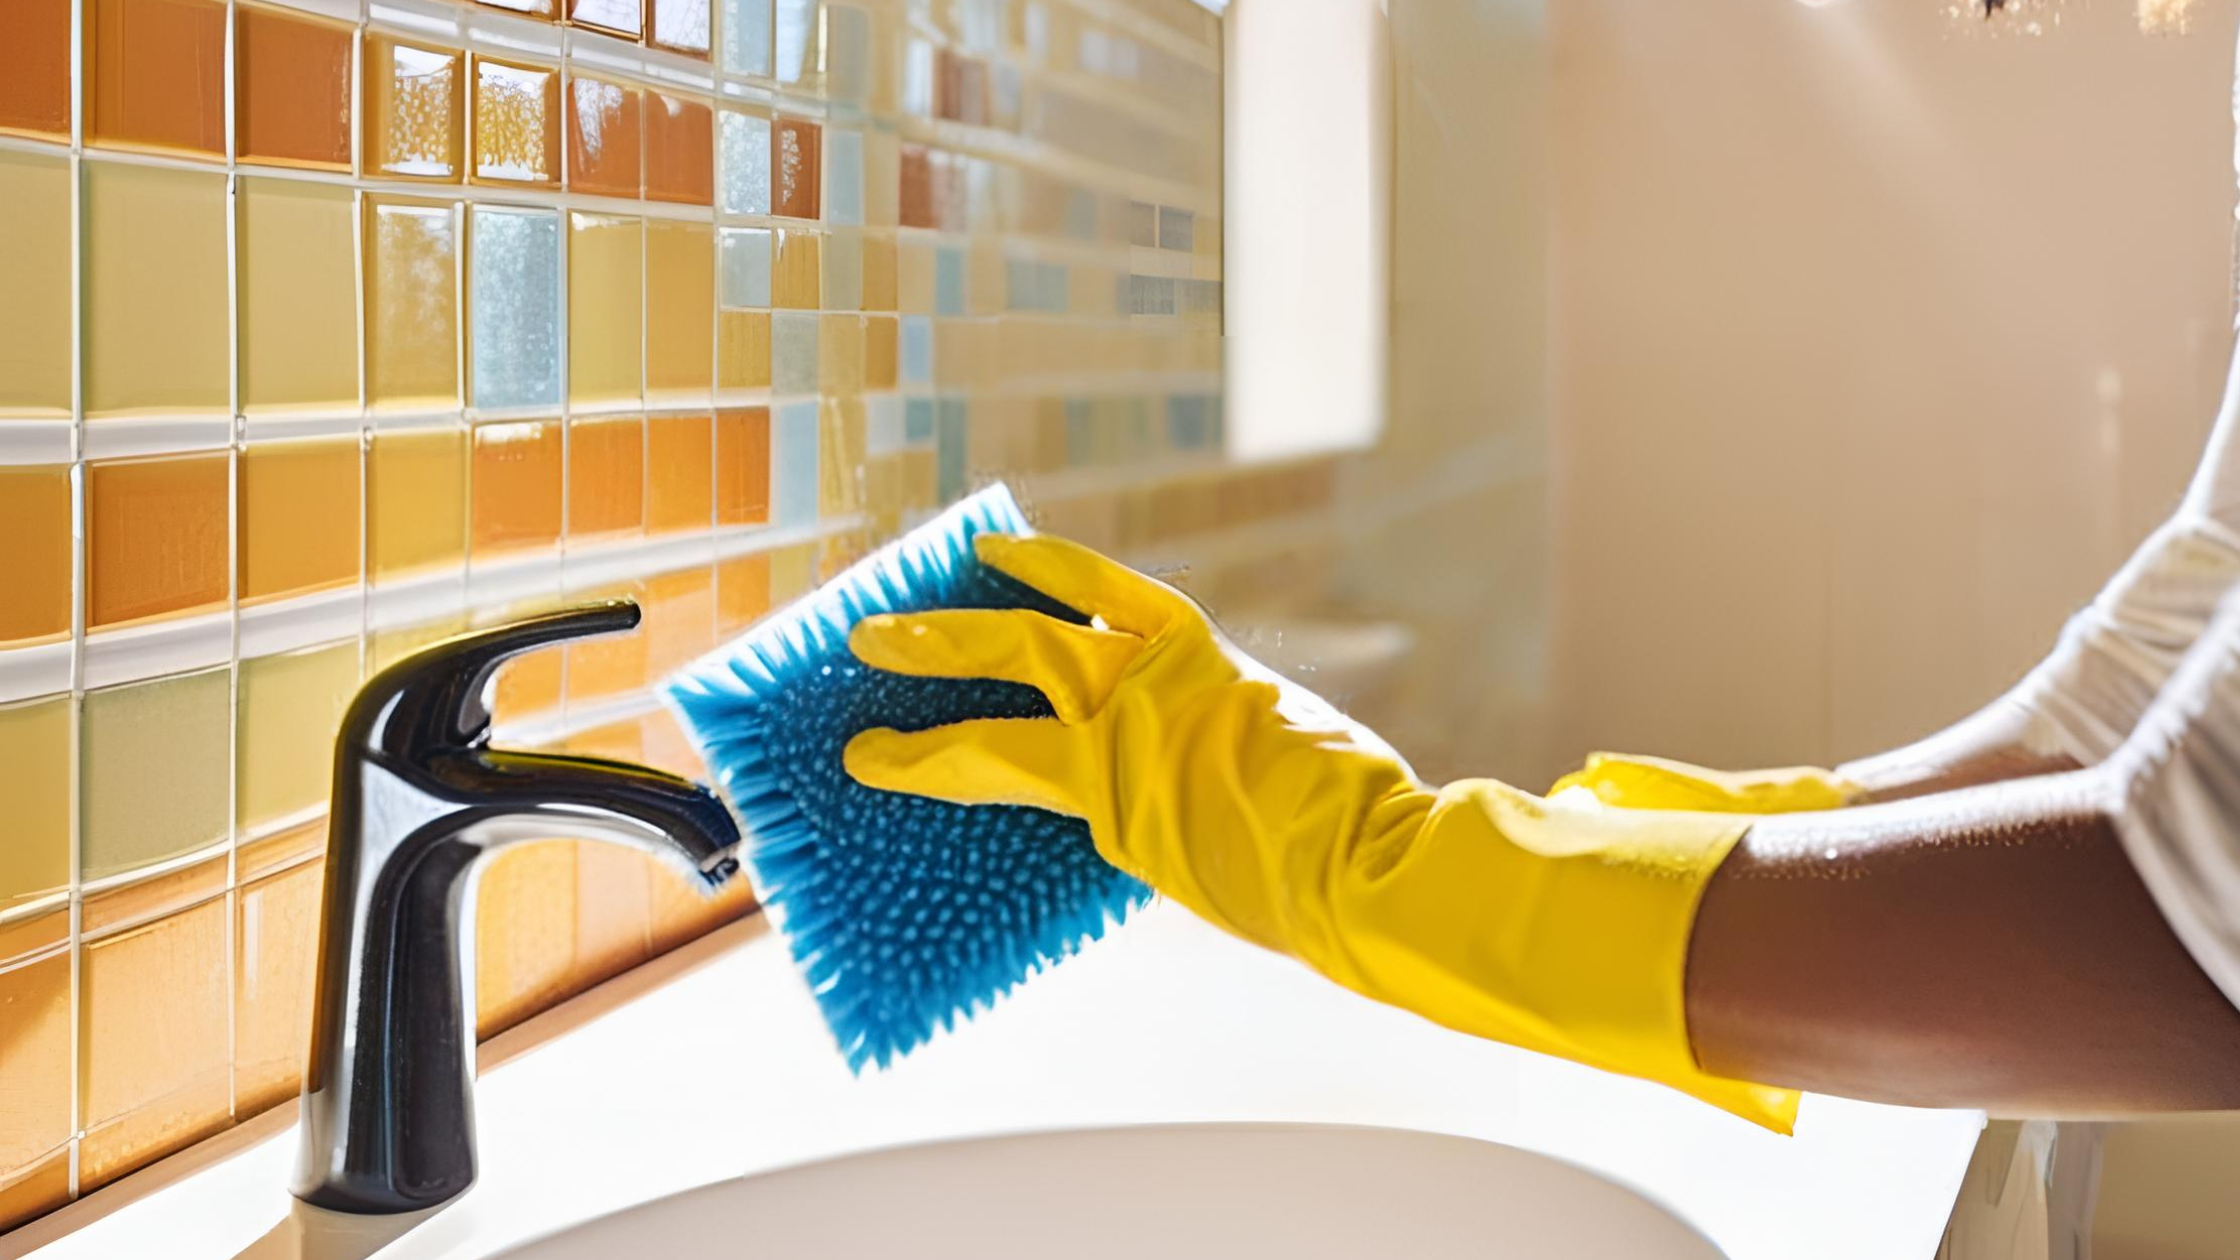
To effectively clean your sink and countertops, start by pouring disinfectant or all-purpose cleaner directly onto the surfaces. Allow the cleaner to sit for a few minutes to effectively kill germs and bacteria. Next, use a scrub brush or sponge to thoroughly clean the sink, paying special attention to the faucet and handles where grime and residue tend to accumulate.
After cleaning the sink, move on to the countertops. Wipe them down using the same cleaner, making sure to clean any soap dishes or toothbrush holders that may be on the countertop.
Once thoroughly cleaned, rinse the sink and countertops with water to remove any remaining cleaner. Finally, dry the surfaces with a microfiber cloth to achieve a sparkling finish.
Step 7: Mirrors and Glass Surfaces
To achieve a sparkling clean look, it's essential to ensure that mirrors and glass surfaces are streak-free. Start by spraying a high-quality glass cleaner onto the mirrors and any glass surfaces. Use a microfiber cloth, crumpled newspaper, or the microfiber cloth attachment of the Horsepower Scrubber to wipe the surfaces, ensuring a streak-free shine. Take the time to clean the entire surface, paying attention to removing any toothpaste splatters, fingerprints, or other marks for a truly pristine finish.
Step 8: Floors
Now that you've finished cleaning the rest of the bathroom, it's time to give the floors some extra attention. For tiled floors, prepare a solution of warm water and white vinegar (but avoid using vinegar on natural stone tiles). Take a mop and thoroughly clean the entire floor, paying special attention to the grout lines to remove any built-up dirt or grime. If you have access to a steam cleaner, use it for a more thorough and deep cleaning effect, ensuring to follow the manufacturer's instructions. After cleaning, allow the floor to air dry completely before replacing any rugs or mats. This will help ensure that the floor is clean and dry before resuming regular use.
Step 9: Finishing Touches
After completing the decluttering phase, carefully clean all the items you removed before placing them back in their designated spaces. Before placing bottles or containers on shelves or in cabinets, wipe them down to ensure they are free from dust or residue. Additionally, replace used towels with fresh ones and consider adding a delightful aroma to the space by using a diffuser or lighting a scented candle for a pleasant finishing touch.
Wrapping Up: Maintaining Bathroom Hygiene
To ensure a sparkling clean and hygienic bathroom, conducting a deep cleaning every few months is important. This involves thoroughly cleaning and disinfecting every surface, including hard-to-reach areas such as grout lines and behind the toilet. Additionally, deep cleaning should involve descaling faucets and showerheads, cleaning the inside of cabinets and drawers, and washing shower curtains and bath mats.
In between deep cleaning sessions, it's crucial to maintain cleanliness by regularly wiping down surfaces with a disinfectant, cleaning and drying the sink and countertops, and ensuring proper ventilation to prevent the buildup of mold and mildew. Regularly laundering towels and bathmats, and emptying the trash regularly will also contribute to a fresh and hygienic bathroom environment.
Effortlessly integrating these deep cleaning steps into your routine will help you transform your bathroom into a sanctuary of cleanliness and hygiene. By taking the time to thoroughly clean every nook and cranny, you can ensure that your bathroom not only looks visually pleasing but also provides a healthier space for you and your family. Deep cleaning involves more than just scrubbing the surfaces; it's about cultivating a space that uplifts and rejuvenates both the body and mind. When you pay attention to every detail, from the grout between tiles to the hidden corners, you create an environment that promotes cleanliness and a sense of tranquility and well-being.

